Building a Home Server: A Guide to Personal Cloud Storage and Media Servers
Published on: October 5, 2024
In today's interconnected world, having control over your personal data is becoming increasingly important. Many people are turning to home servers as a way to centralize their data, streamline home automation, and build media libraries that are always available. This guide will take you step-by-step through building a home server, from selecting the right hardware components to configuring the software that will help you store, share, and secure your data. By the end of this tutorial, you will have your own custom-built home server, tailored specifically to your needs.
Why Build a Home Server?
There are numerous advantages to building a home server. Whether you are looking for personal cloud storage, a media server to share music and movies throughout your home, or a central hub for home automation, having your own server gives you unparalleled control. Unlike using cloud services like Google Drive or Dropbox, a home server lets you keep your data out of the hands of third parties. Plus, with the right setup, you can access your files from anywhere in the world, ensuring that your data is always at your fingertips.
Step 1: Planning Your Home Server
The first step to building a home server is figuring out what you want it to do. A server dedicated to media streaming may look very different from one that serves as your personal cloud storage or your central smart home hub. Here are some key considerations when planning your server:
Determine the Purpose
- Media Server: Are you looking to stream movies, music, and photos to your TVs and mobile devices?
- Personal Cloud Storage: Do you want to back up your photos, documents, and important files securely?
- Home Automation Hub: Will your server act as the brain of your smart home, controlling various devices such as cameras, thermostats, and lighting?
Set a Budget
Your budget will dictate what kind of hardware and software you can afford. A powerful server will require a higher investment, especially if you want to use components like SSDs, a lot of RAM, and a capable CPU. However, you can also build a budget-friendly server with repurposed hardware.
Consider the Space
Where will you keep your server? Home servers can range from small form factors to larger tower cases that need significant desk or floor space. If noise is a concern, consider where you can place the server so that it won’t disturb you.
Step 2: Choosing the Hardware
The next step is selecting the right hardware components. Here's what you'll need:
CPU (Central Processing Unit)
The CPU is the brain of your server, and choosing the right one depends on your use case. If you are simply looking for a file storage server, a lower-powered CPU, such as Intel’s Celeron line, may suffice. For media transcoding, look at more powerful options like Intel Core i5/i7 or AMD Ryzen CPUs, especially if you plan on using software like Plex or Jellyfin.
Motherboard
Make sure to pick a motherboard that supports the CPU you’ve chosen and provides ample connectivity options (SATA ports, PCIe slots, USB ports). Additionally, ensure it has enough RAM slots to meet your needs.
RAM (Memory)
For most home servers, 8-16GB of RAM should suffice. If you’re running virtual machines or multiple Docker containers, you may want to consider 32GB or more.
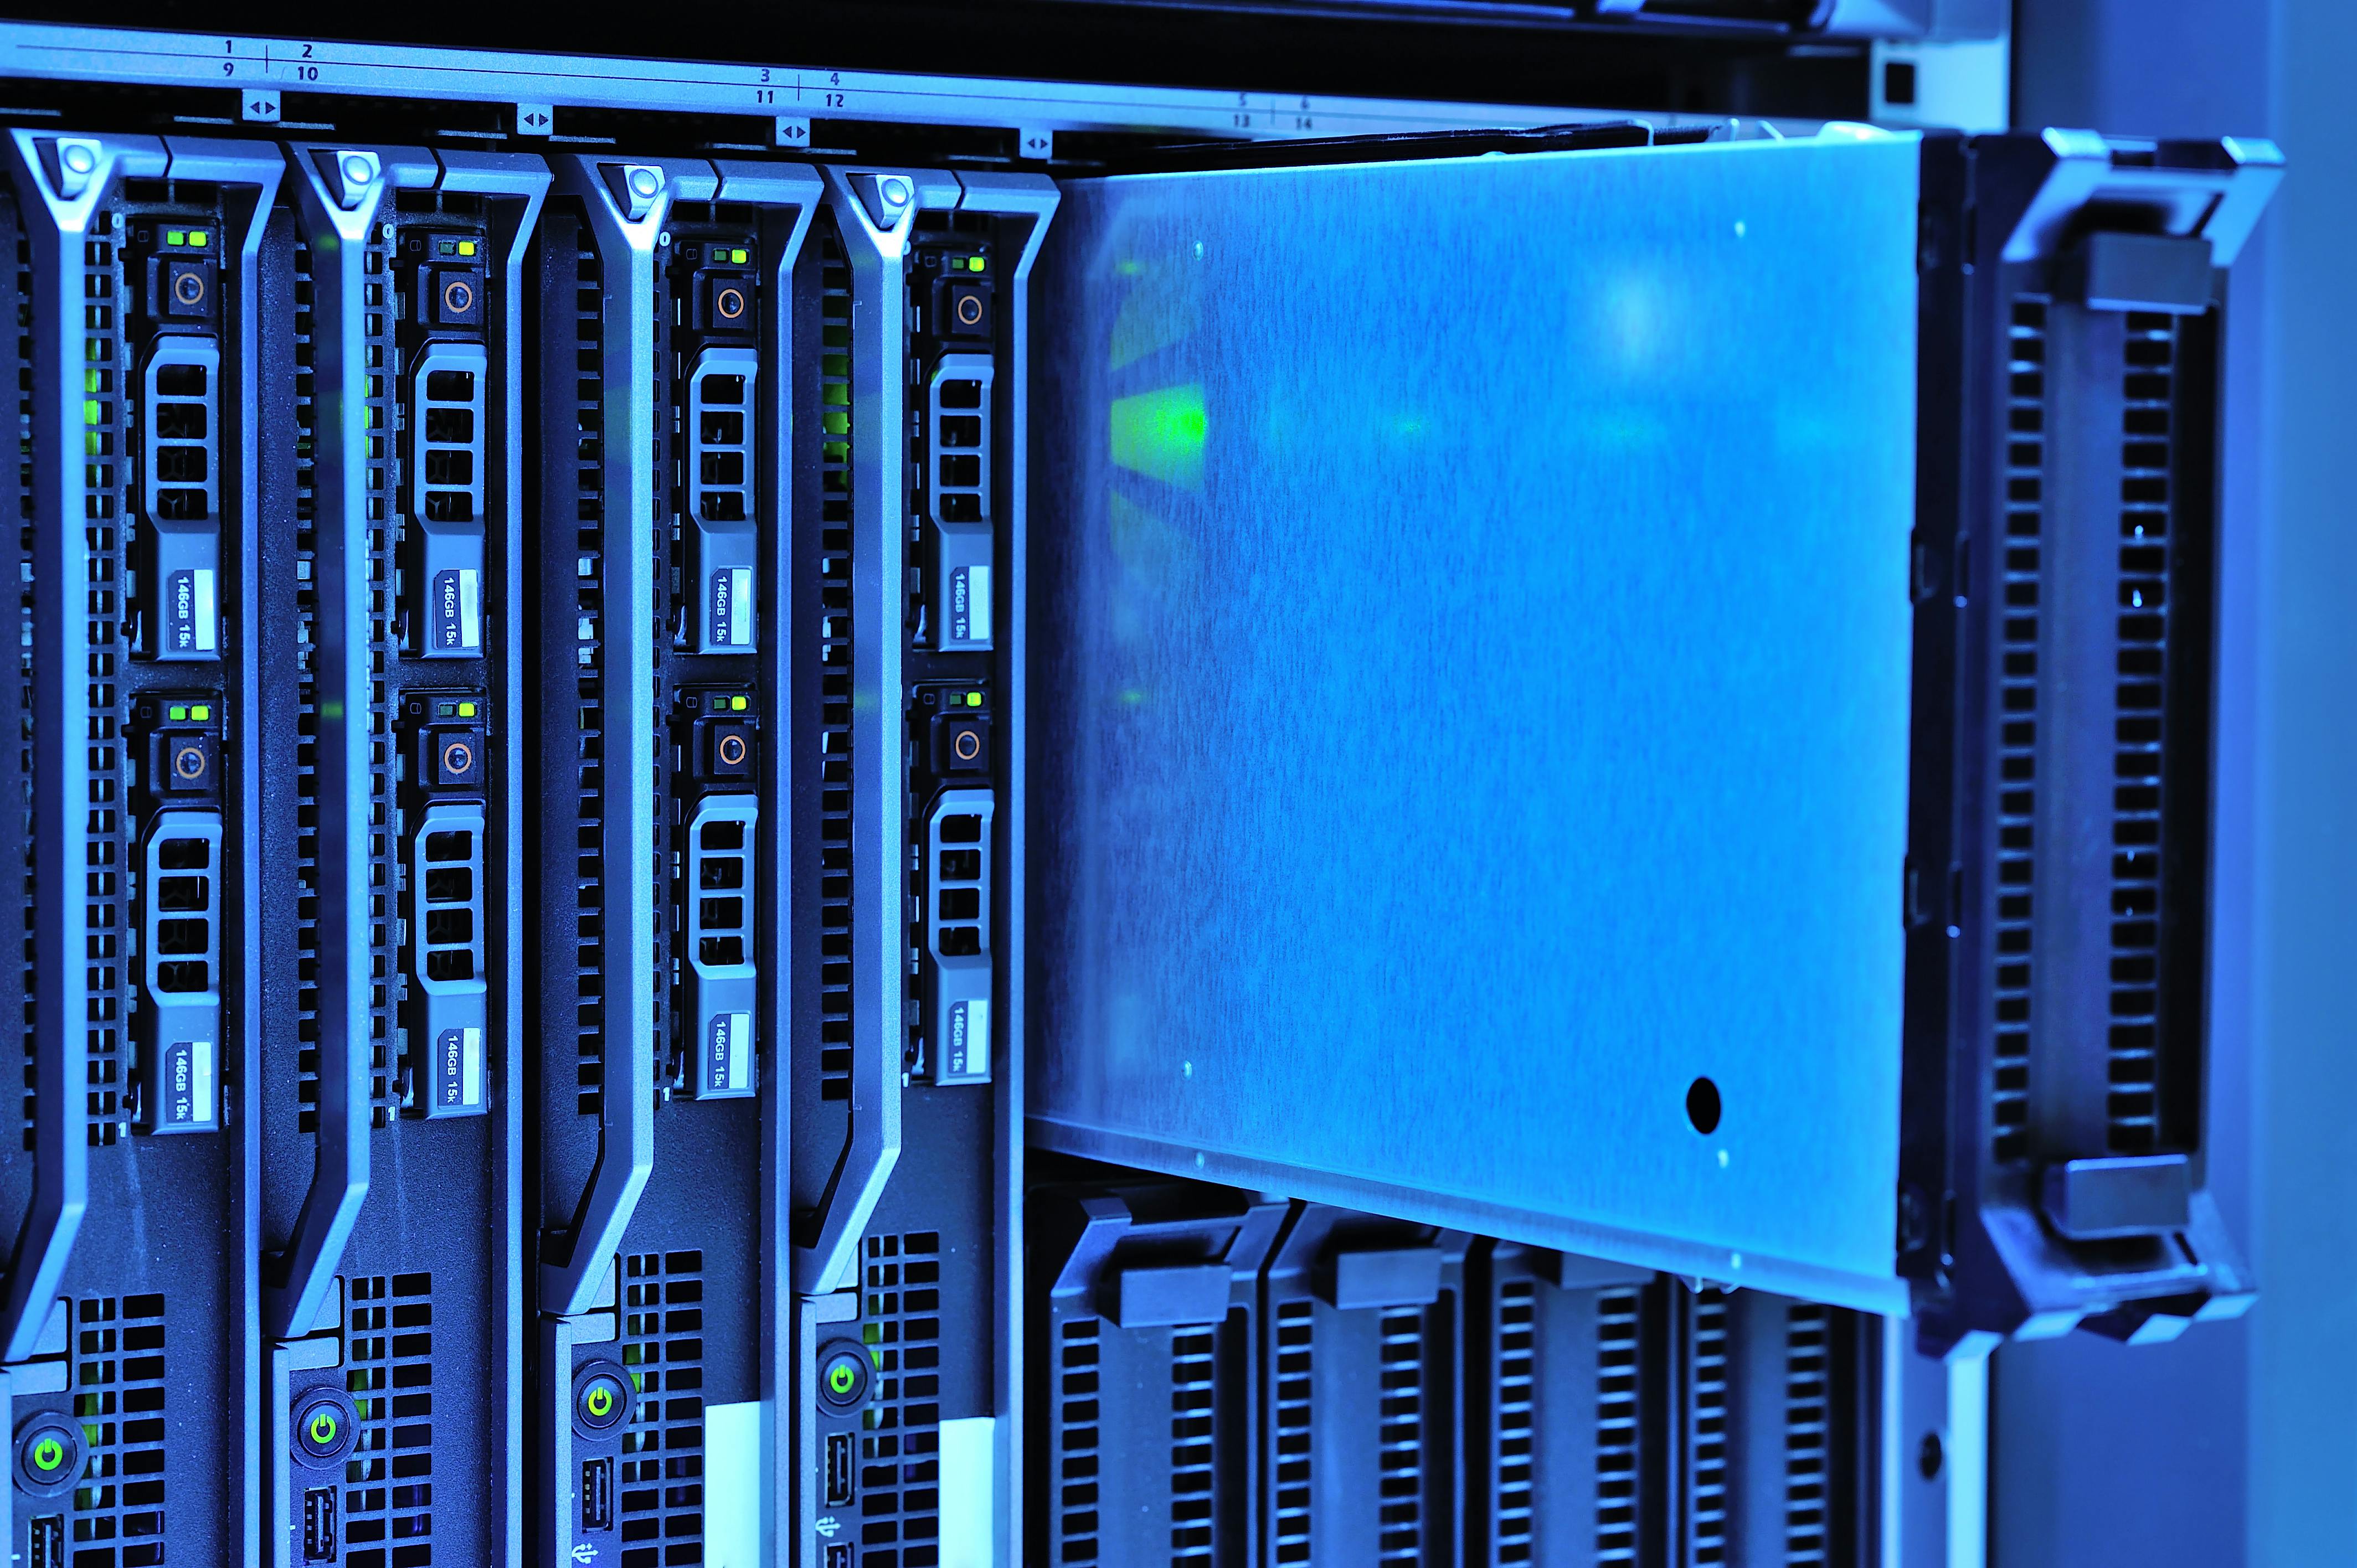
Storage (HDDs and SSDs)
- Hard Disk Drives (HDD): For large storage capacities, standard HDDs are more cost-effective. They are ideal for storing media files.
- Solid State Drives (SSD): SSDs are ideal for the operating system and any applications you’re running, as they provide much faster read/write speeds compared to HDDs.
- RAID Configuration: Consider a RAID setup for redundancy, which allows you to have one or more drives mirror your data to prevent data loss in case of hardware failure.
Network Interface Card (NIC)
For better connectivity, make sure you have at least a Gigabit NIC. If you want to future-proof your server or have high data transfer requirements, consider a 10 Gigabit NIC.
Case and Power Supply
- Case: You need a case that can accommodate all your hardware, including your storage drives.
- Power Supply (PSU): Choose a reliable PSU with enough wattage to power all your components, and look for an 80 Plus rating for energy efficiency.
Step 3: Choosing the Software
Once your hardware is set up, it's time to select the software that will bring your home server to life.
Operating System (OS)
- Unraid: Unraid is popular for home servers, as it offers a simple-to-use interface and robust features for file storage, virtualization, and Docker containerization.
- TrueNAS: If you’re looking for a solution focused solely on storage, TrueNAS (previously FreeNAS) is a great choice, with powerful features like data snapshots.
- Ubuntu Server: If you’re comfortable with Linux, Ubuntu Server provides full customization and is highly flexible for a variety of uses.
Home Server Software
- Plex/Jellyfin: For media streaming, Plex and Jellyfin are excellent options that allow you to access your content on different devices.
- Nextcloud: For personal cloud storage, Nextcloud is a great open-source alternative to Google Drive or Dropbox.
- Home Assistant: To use your server as a home automation hub, Home Assistant is a fantastic option that integrates with countless smart home products.
Step 4: Building and Setting Up the Server
Assemble the Hardware
Start by installing your CPU, RAM, and storage onto your motherboard. Once that’s done, mount the motherboard into the case, install any additional NICs, and attach your power supply. Connect all the cables, double-check all connections, and power on the system.
Install the Operating System
Use a bootable USB stick to install your chosen OS. Make sure to follow any specific instructions for the installation, such as setting up a RAID array or installing necessary drivers.
Basic Configuration
- Set Static IP: Assign a static IP address to your server to ensure it’s always accessible from your network.
- Create User Accounts: Set up user accounts and permissions to manage who can access certain files or services.
Step 5: Setting Up Media and Cloud Storage
Once your OS is up and running, you can set up the services that you want your home server to provide.
Media Server Configuration
Install Plex or Jellyfin. Follow their respective instructions to add your media libraries.
Configure remote access so that you can stream your content even when you’re away from home.
Setting Up Personal Cloud Storage
Install Nextcloud and follow the setup wizard to create your personal cloud storage.
Enable encryption to ensure your files are securely stored.
Home Automation Setup
Install Home Assistant and configure your devices. The Home Assistant community offers a wide range of tutorials for integrating everything from smart bulbs to thermostats.
Step 6: Securing Your Home Server
Security is one of the most important aspects of building a home server. Since you may want to access your server remotely, ensuring it’s secure is paramount.
Firewall Configuration
Make sure your server’s firewall is configured to allow only necessary traffic. Block all other ports that you don’t need.
Use VPN for Remote Access
To access your server remotely, consider setting up a VPN (Virtual Private Network). A VPN will ensure your connection is encrypted and prevent unauthorized access.
User Authentication
Use strong passwords for all user accounts, and consider enabling two-factor authentication (2FA) where possible. This is especially important if you’re allowing remote access.
Step 7: Automating Backups
Your home server will likely hold important data, so setting up regular backups is crucial.
Local Backups
Use tools like rsync to automate local backups to other drives within your server.
Offsite Backups
For additional redundancy, consider backing up your data to a separate location. You can use cloud services or simply schedule backups to an external drive that you store in a different location.
Step 8: Testing and Monitoring
Once your home server is set up and running, it’s essential to keep tabs on its performance.
Monitor System Health
Use tools like Netdata or Grafana to monitor CPU usage, disk activity, and network traffic.
Test Remote Access
Make sure you can access your server remotely, either via VPN or a remote access tool. Ensure everything works smoothly to avoid trouble when you actually need to access files away from home.
Additional Considerations for Home Servers
Energy Efficiency
If you are concerned about power consumption, consider using energy-efficient components. Underclocking or undervolting your CPU can also reduce power usage.
Expandability
If you anticipate needing more storage or RAM, plan accordingly. A case with enough space for additional drives and a motherboard with extra SATA slots and PCIe slots can save you money in the long run.
Noise Management
Home servers can get noisy, especially with several drives spinning and fans running. Consider using quieter components, or placing your server in a part of your house where the noise won’t bother you.
Dynamic DNS
If you don’t have a static public IP address, consider using a Dynamic DNS service. This will allow you to reach your server even if your IP address changes, ensuring reliable remote access.
Troubleshooting Common Issues
Network Connectivity Issues
- Double-check your static IP settings.
- Make sure your router is configured to forward the correct ports to your server.
Storage Not Recognized
If a hard drive isn’t showing up, check the BIOS to see if it’s detected. You may need to install additional drivers or replace a faulty cable.
Server Not Booting
Revisit your hardware installation to ensure all components are correctly seated and powered.
Building a home server may seem like a daunting task, but once you break it down into individual steps, it becomes much more manageable. Whether you want a personal cloud storage solution, a home media center, or a home automation hub, a home server can be a powerful addition to your tech setup. With a bit of planning, the right hardware, and some time spent on configuration, you’ll be able to enjoy the convenience, security, and control that comes with having your own home server.
Home servers offer a unique opportunity to take control of your digital life, creating a space where all your data and devices can interact seamlessly. The power is in your hands—it’s time to build the ultimate connected home.
